

How to Make Animated GIFs in Procreate
I always assumed GIFs were incredibly difficult to make…they aren’t at all! You don’t even need an expensive program to make them. Procreate is a great option after their last major update adding in animation capabilities. Follow along to start animating on your own in Procreate!

Step 1- Open up a new art board and adjust the size of your canvas as needed. Head up to the canvas settings and turn on animation assist. This will make it easy to add and see different layers as you work. My best piece of advice with these is- start simple! Stick with one movement, black & white, and not too complex of a design. You’ll get the hang of things as you work. But, if you get aggravated right off the bat, you probably won’t be motivated to practice!

Step 2- Once you decide on your design, you’ll need to create a new layer or add frame. I prefer duplicating the layer in the top right corner of the screen. That way the design is duplicated and you just need to adjust where necessary. For this design I only need to select the layer and move it up a smidge. If you are animating a face or some other element that may be moving rather than just shifting, you have to decide how much you want it to move each frame. That is something you need to experiment with and is completely up to you.
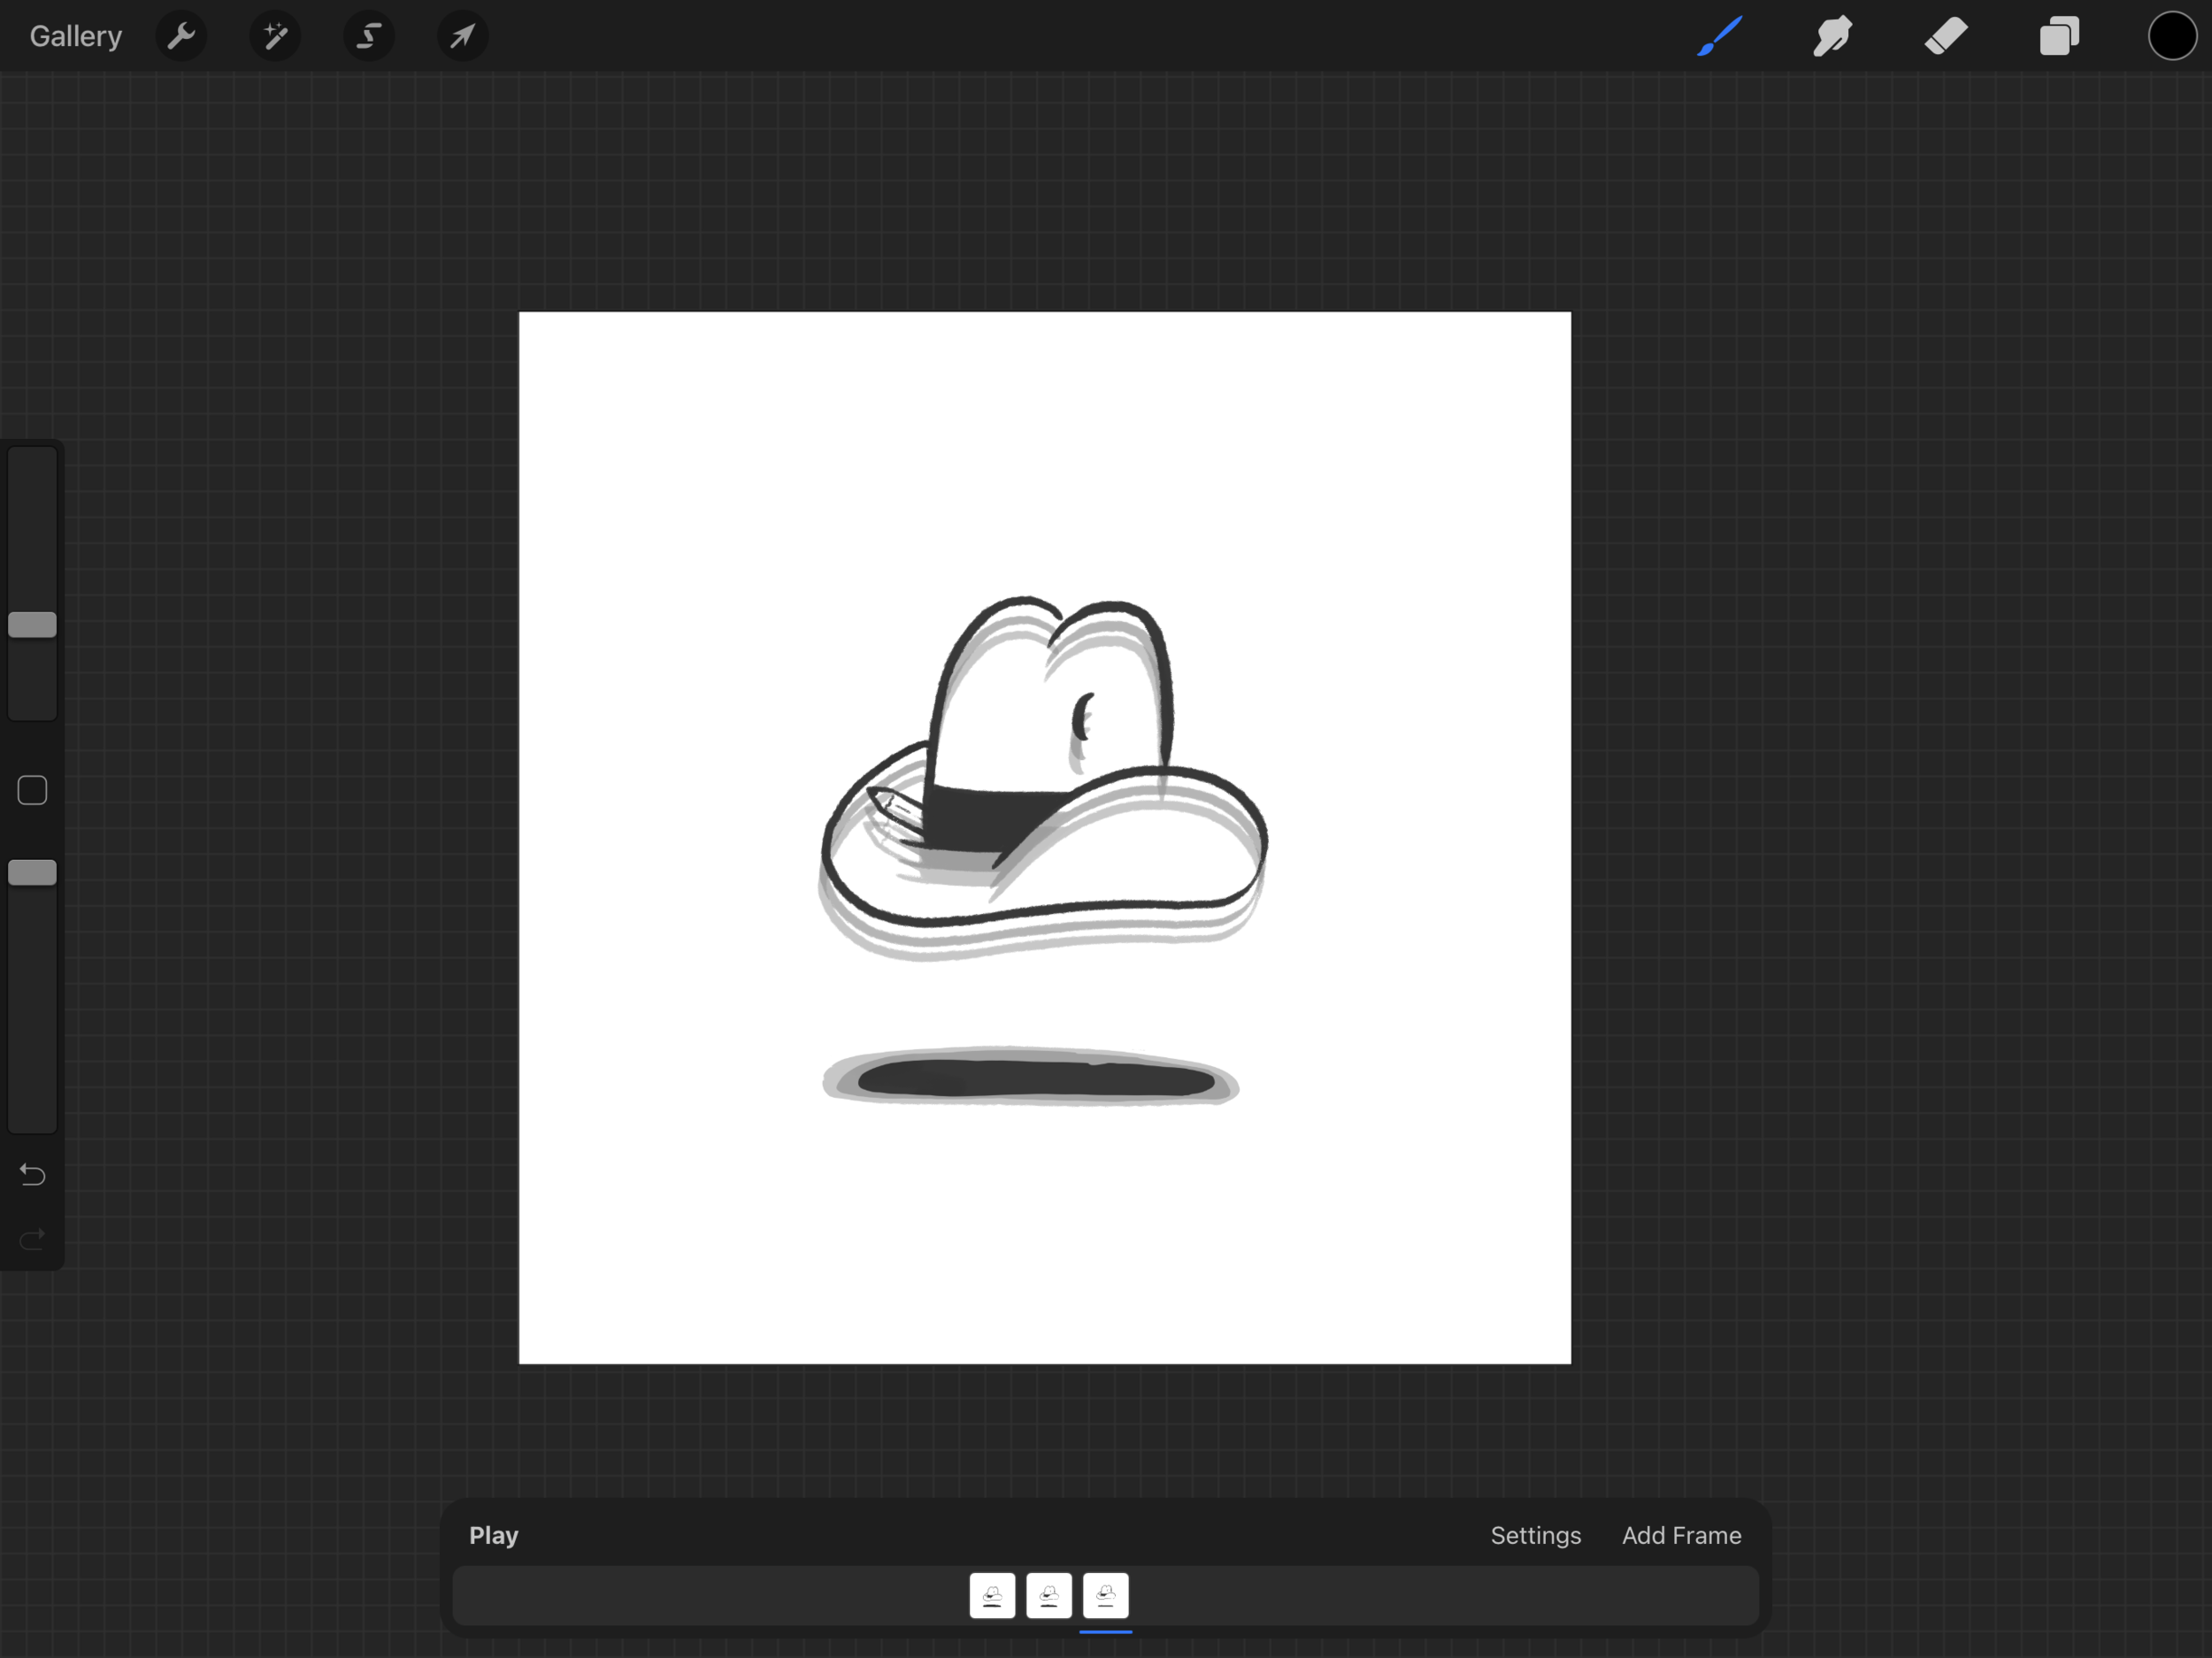
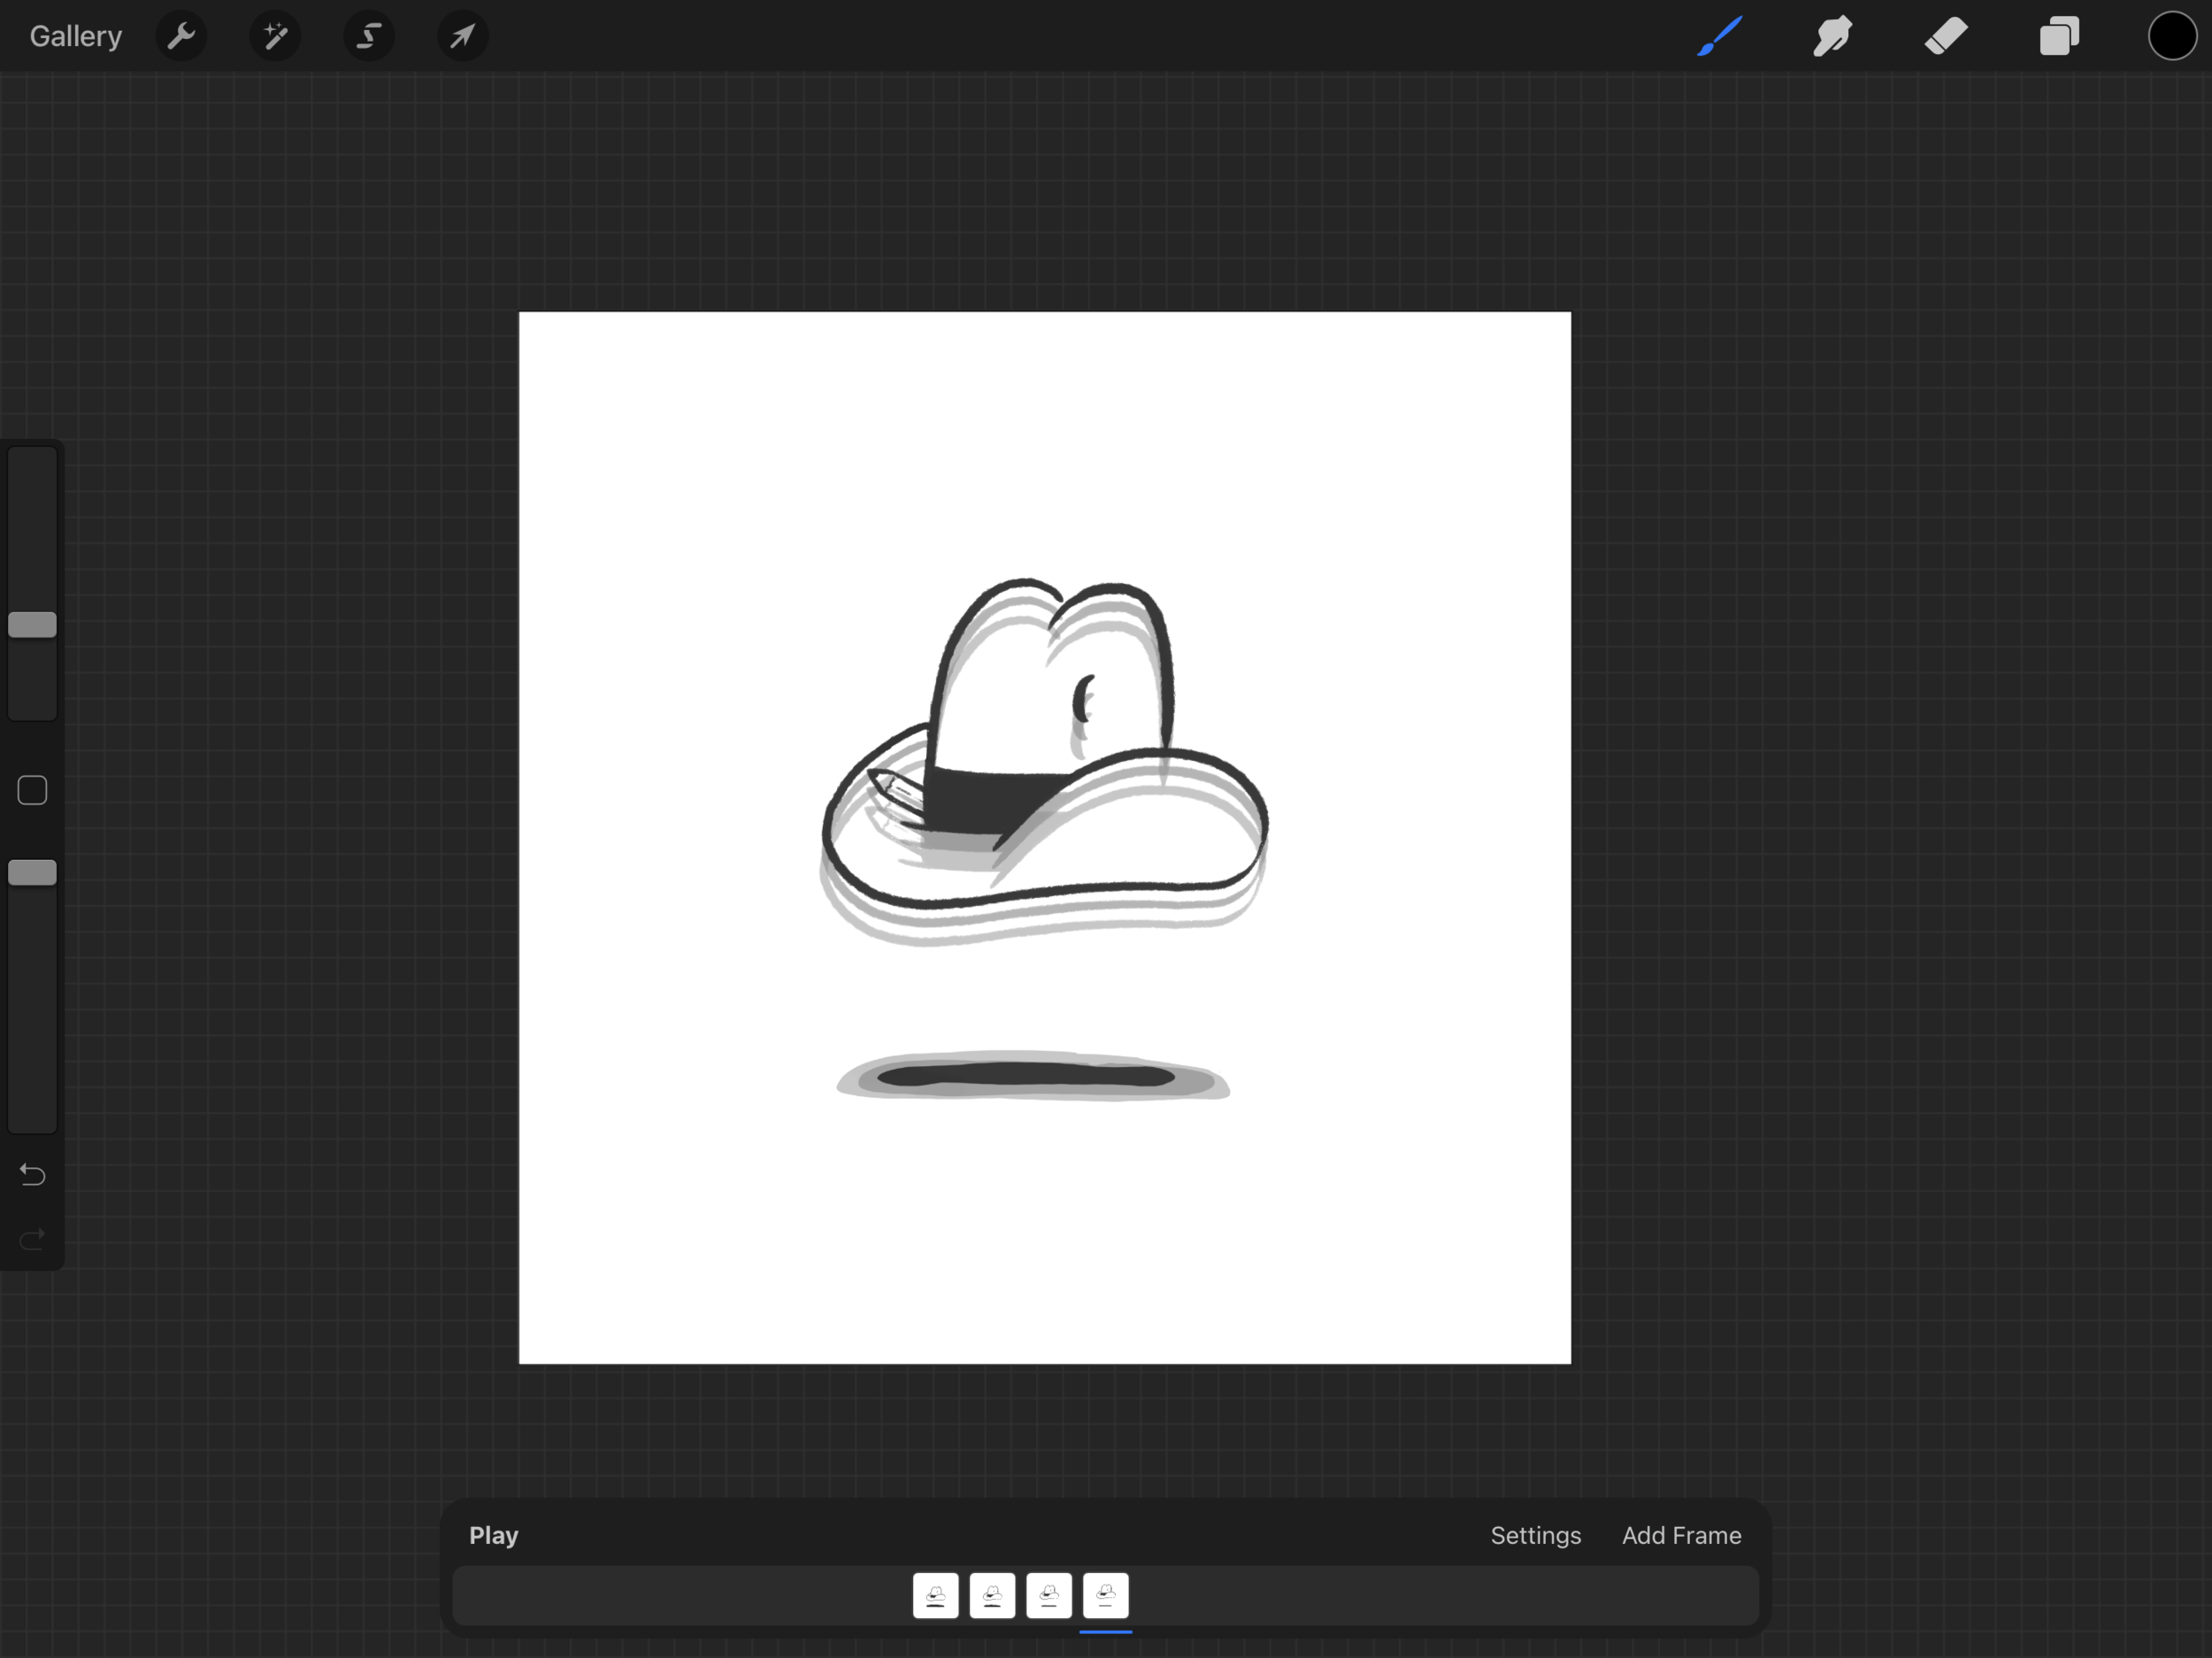
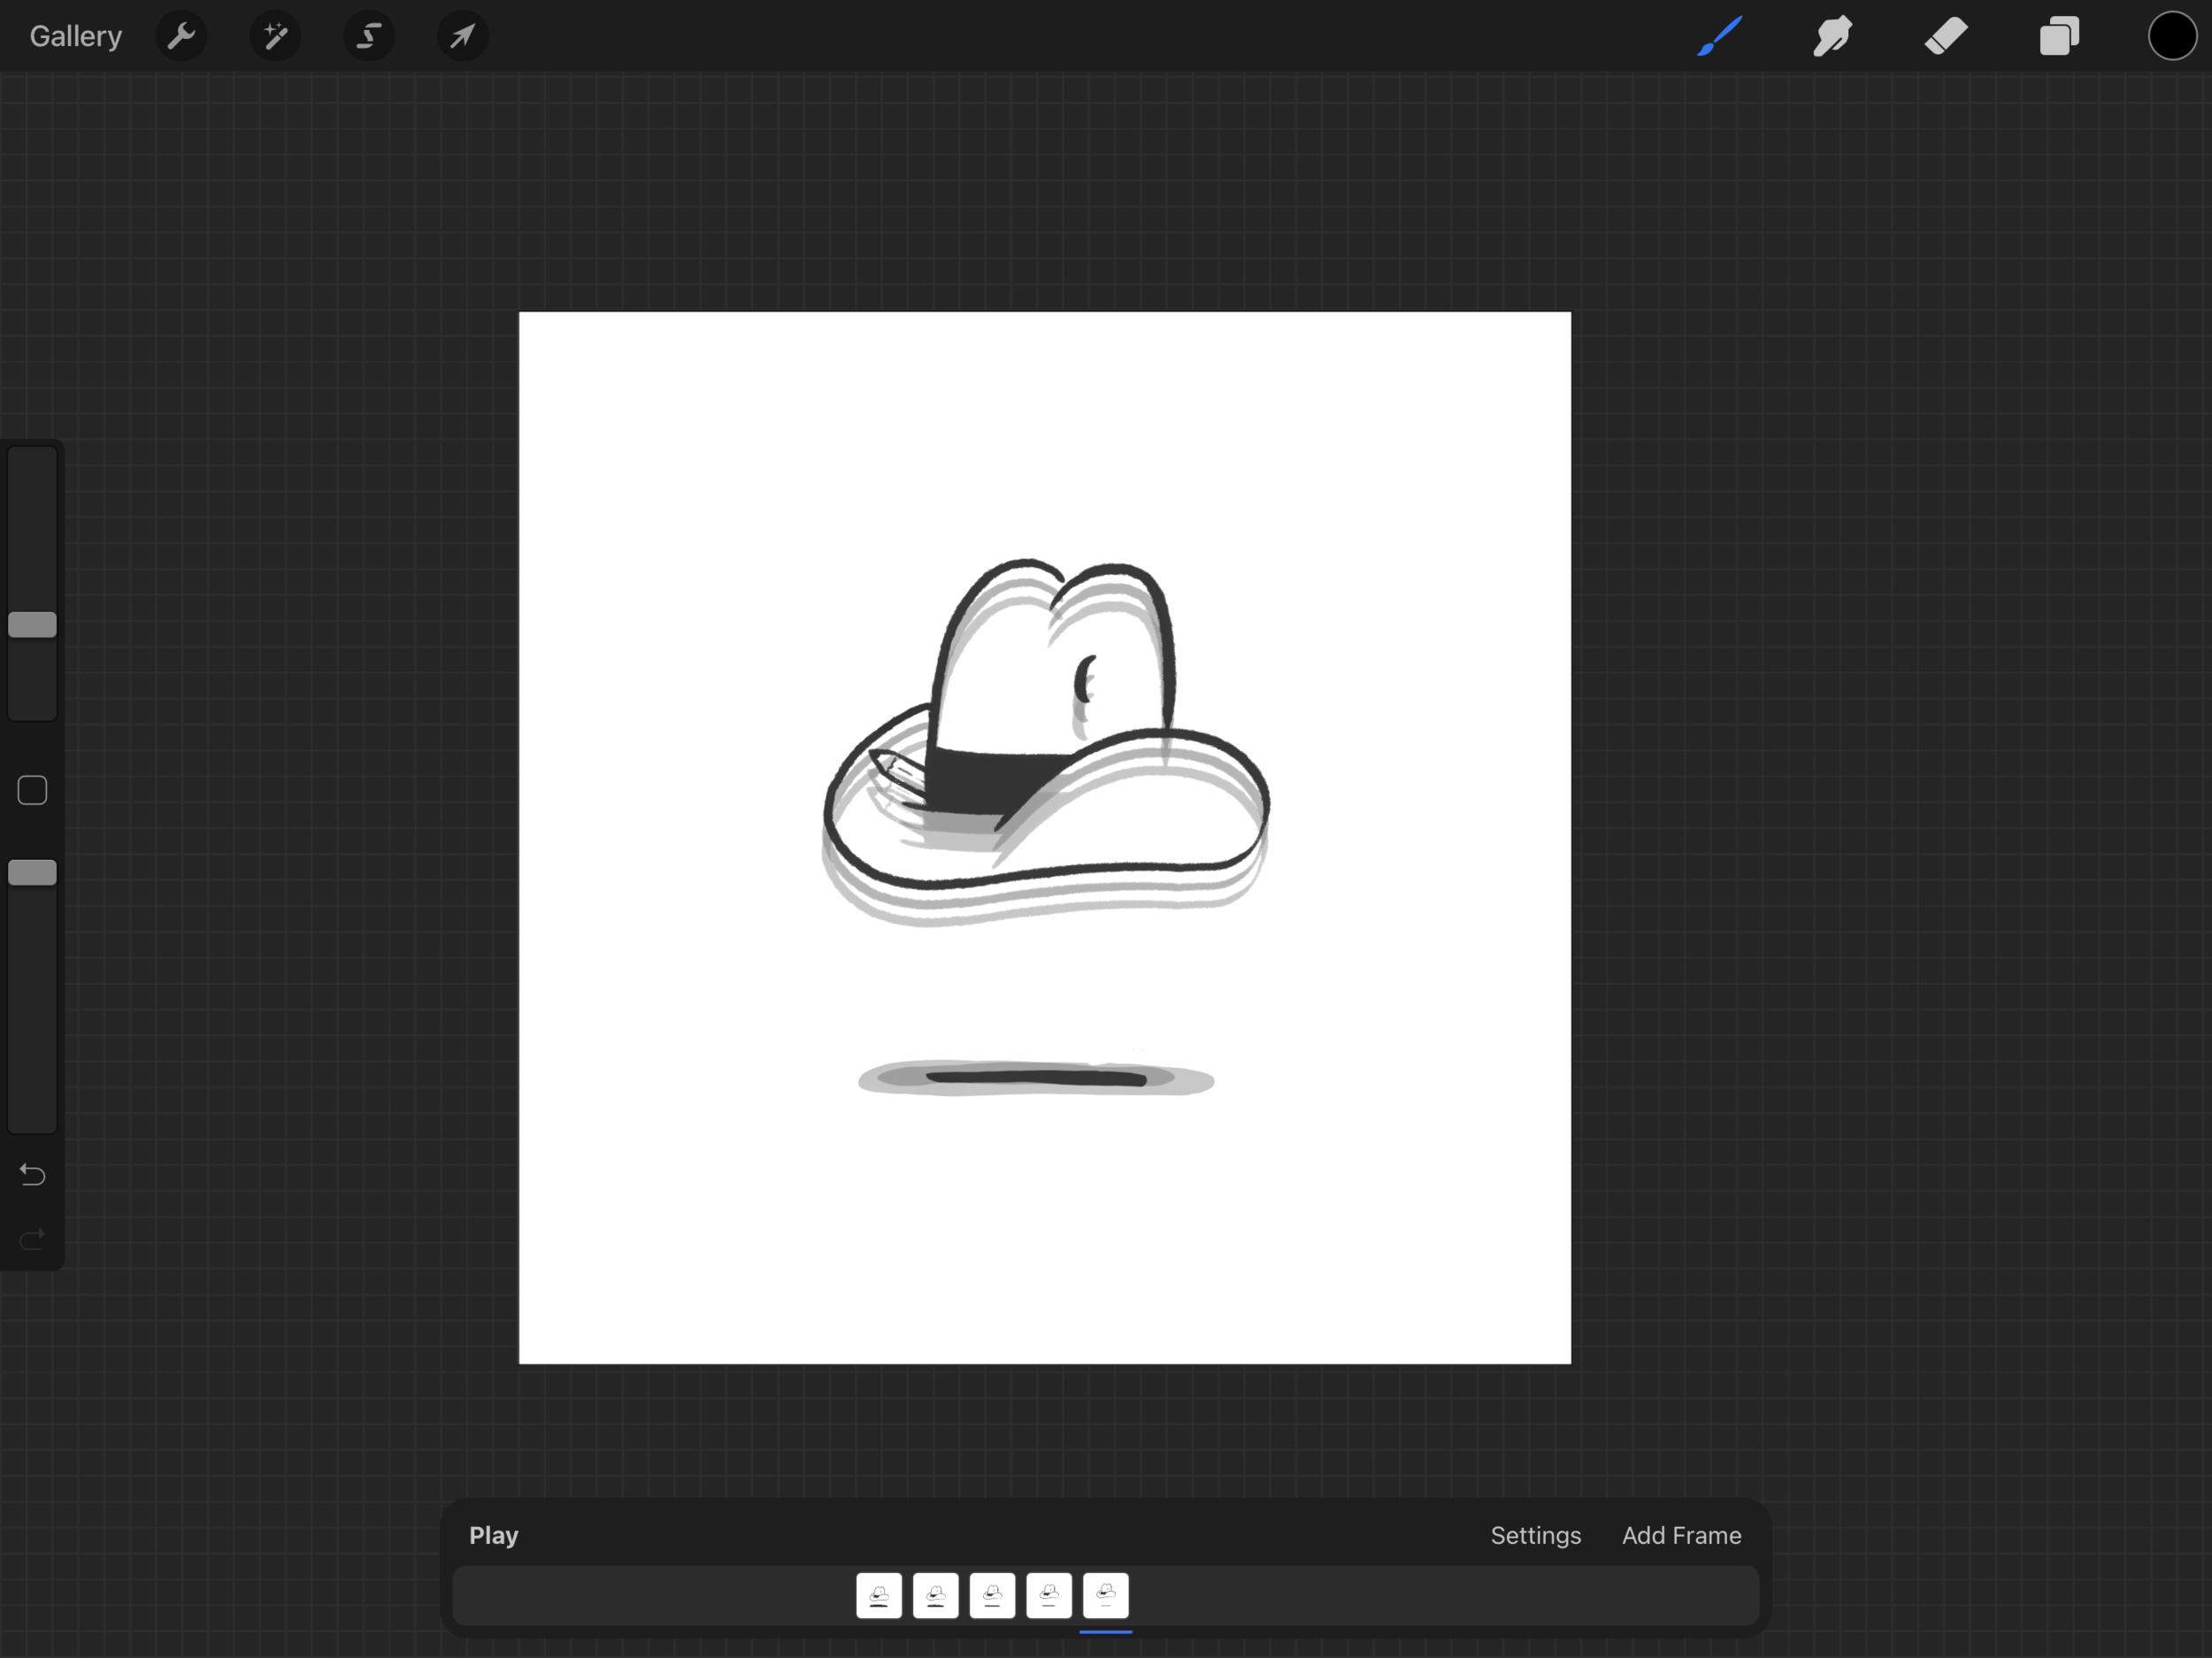
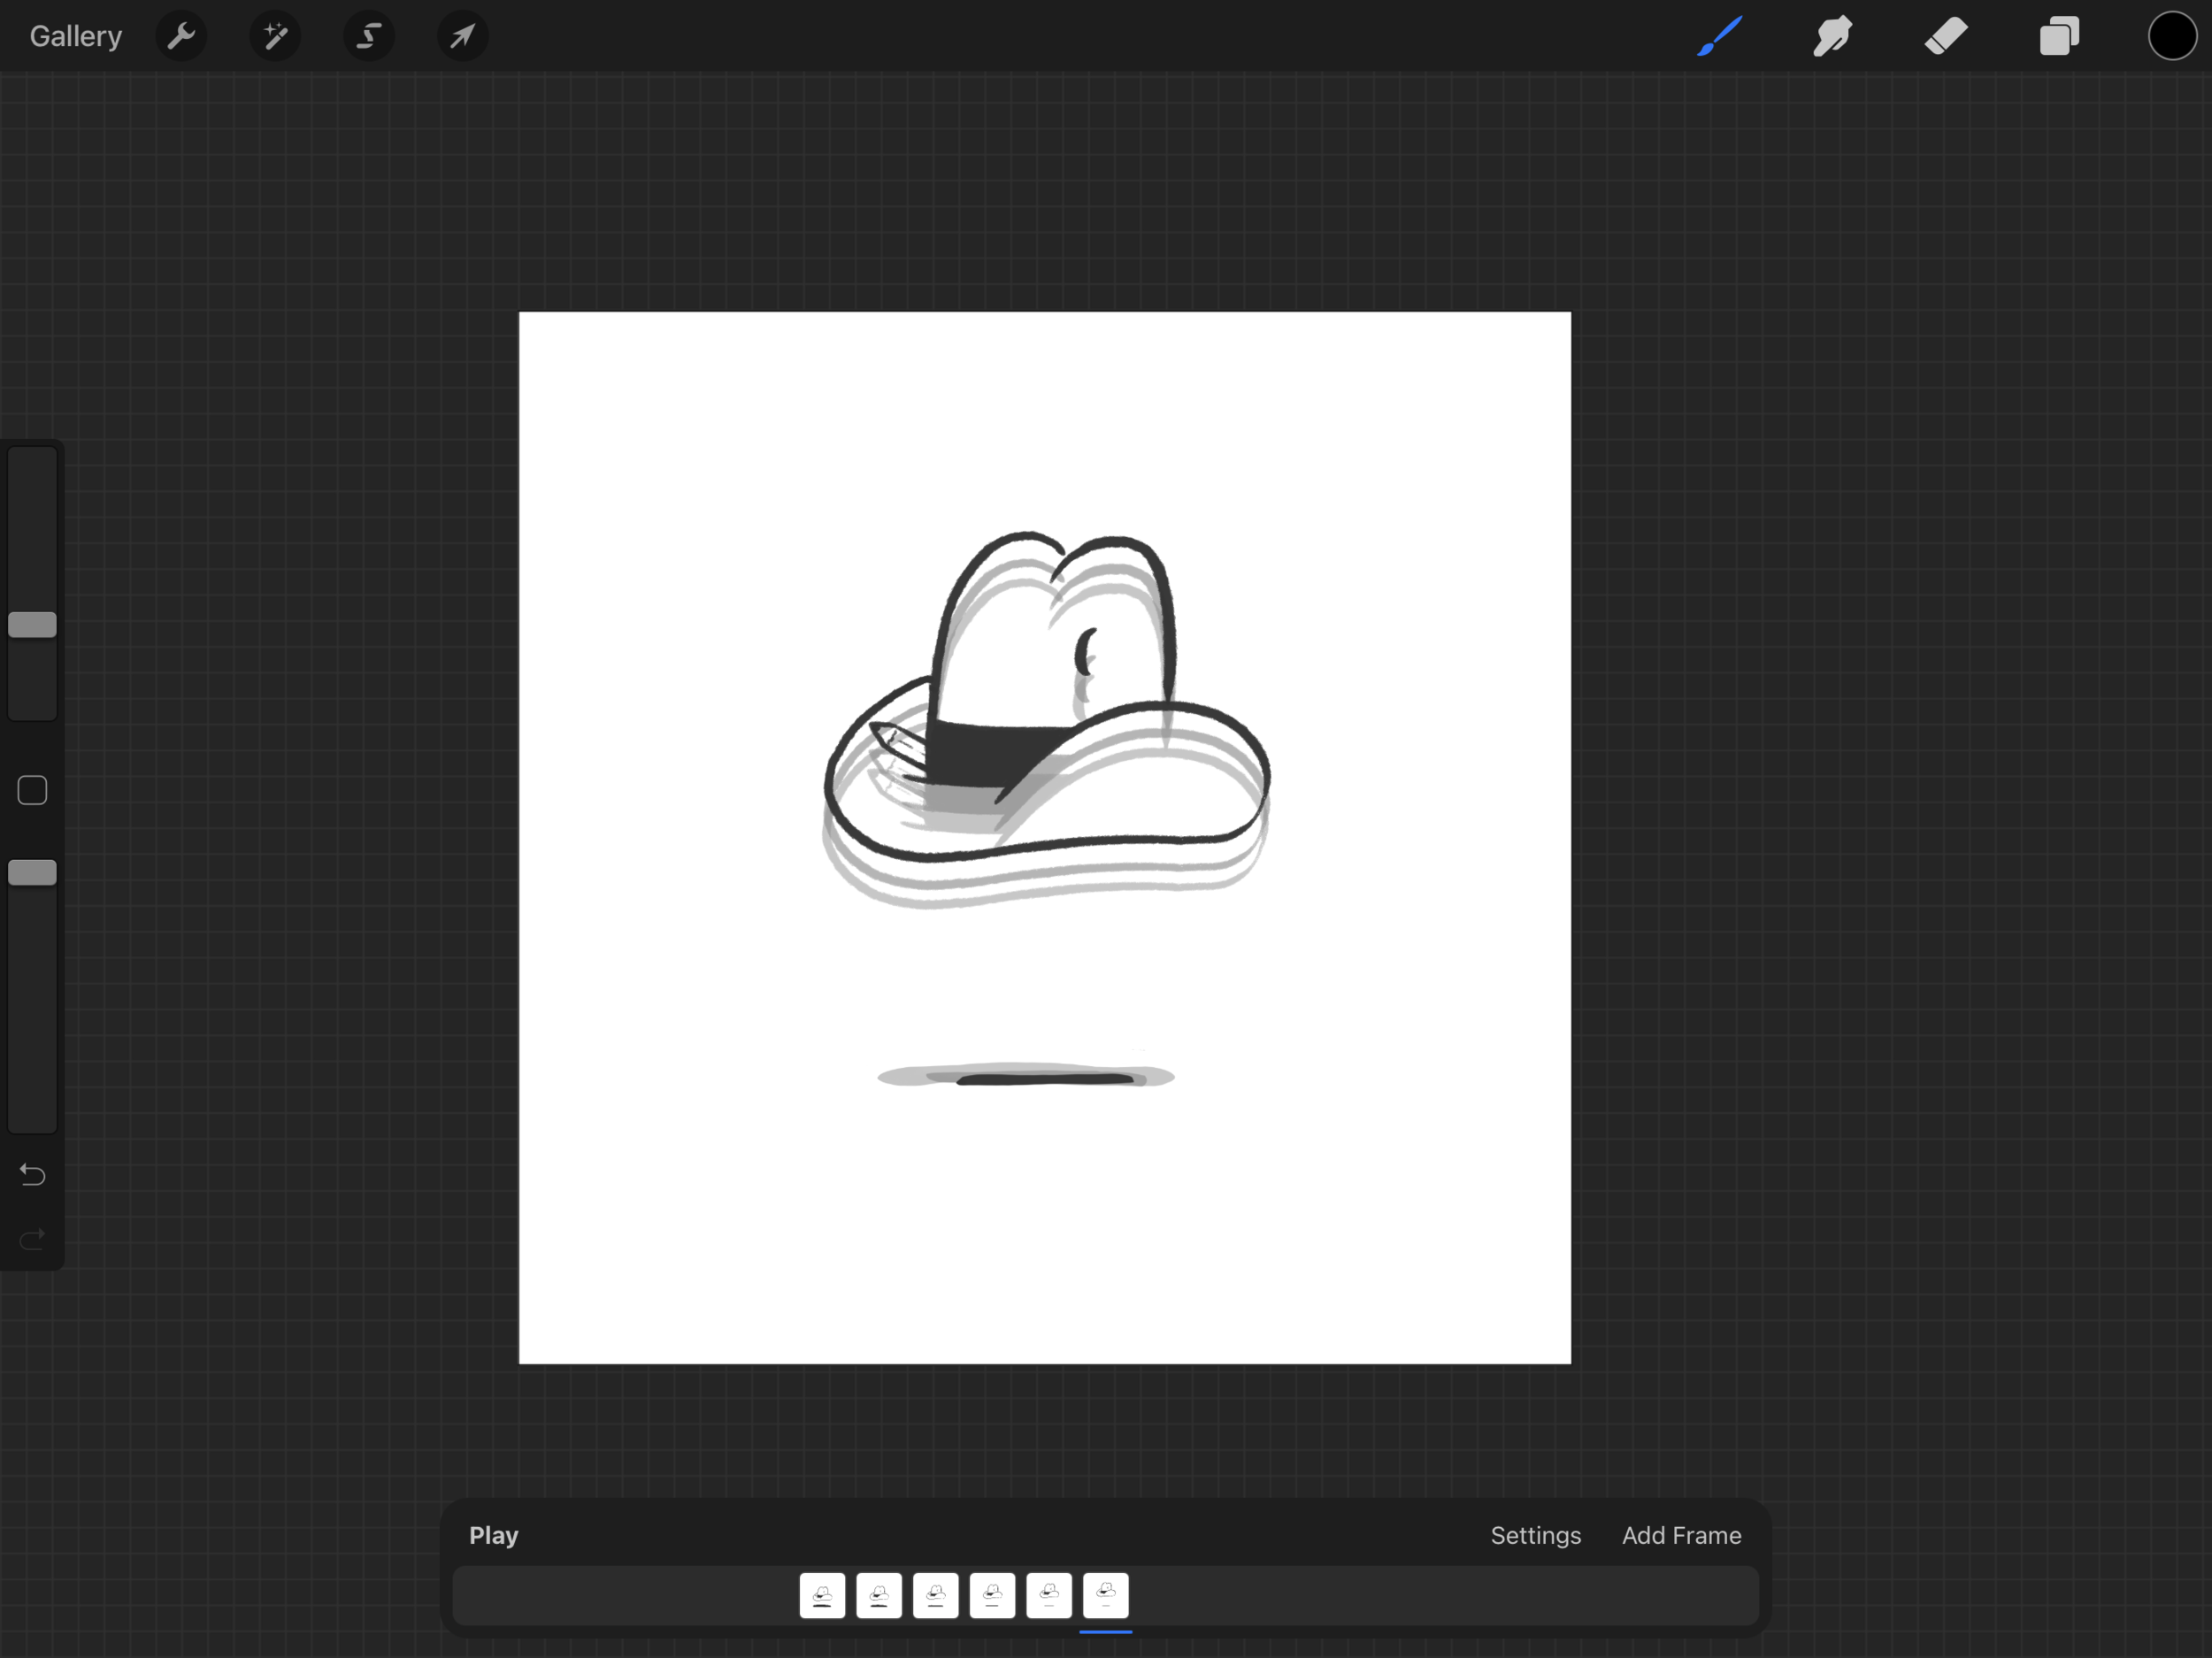
Step 3- At this point, you continue to add as many layers as you need and make adjustments as you go. You can see each of my layers for this GIF below.

Step 4- If you get to the end of animating and something with the speed or playback is bothering you, head to the settings. You can speed up or slow down the animation using the ‘frames per second’ slider. Another option to play with is using either the loop (makes your GIF loop forever and ever), ping-pong (beginning to end/end to beginning), and one shot (plays your animation once).

Step 5- Once you finalize your GIF, it is time to share! Head to the wrench button on the top left and select share. Scroll on down to Animated GIF and click it.

Step 6- Depending on where you want to place your GIF, you will need to select either ‘Max Resolution’ or ‘Web Ready’. Most of the time I am exporting for web, so I don’t want a jumbo file. If you are exporting for a project or client, I would opt for Max Resolution.
That’s all you need to get started making GIFs for your site, email, blog, social media and YouTube! I’ll cya next Sunday for more fun and shenanigans.
PLUS- I am working on bringing the vlog back. I miss it greatly.